How to Install Your Roofing Sheets
Roofing sheets installation is not a very difficult task provided you have a guide on how a roof should be safely installed and how to vary those instructions according to circumstances.
These steps will provide you a general idea on how to install roofing sheets:
1. Cutting of Sheets On-Site
If the purchased sheets require cutting, the metal sheets should be cut whilst on the ground and resting face down on padded supports. They should be cut using appropriate tools that produce minimal heat as this can cause damage to the color coated roofing sheets. For longer straight cuts, use a circular saw with a fine-tooth metal cutting blade and for smaller cut-outs, openings and non-straight cuts, use a jigsaw or a reciprocating saw.
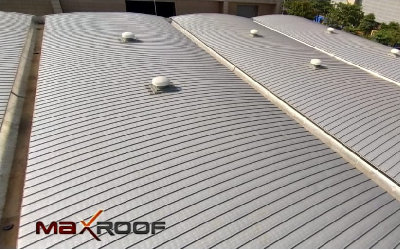
2. Laying of Sheets
While laying the first few sheets it may be helpful not to fully fix them down, this is to make sure the sheets are perfectly aligned. Once you have positioned the sheets properly then secure them down with the remaining fixings and continue. The first row of sheets should extend over the bottom perfectly to allow any rainwater to drain into a gutter or beyond the wall.
3. Side and End Laps
It's good practice to use mastic lapping tape and stitching screws to ensure a robust weather resistant joint on side laps. Sheet to sheet stitching screws should then be used at 600mm intervals down the lap to consolidate the bond created by the lapping tape. For the end laps, a minimum sheet over sheet overlap of 250mm should be allowed for where sheets lap, this lap must be supported underneath by a z or c purlin. The gaps that occur under the sheeting at the eaves and between the sheeting and the ridge flashing need to be sealed to weatherproof the roof.
4. Always Work Safely
Roofing work can be hazardous so appropriate safety precautions should be taken along with wearing suitable protective gloves, clothing and hard hat along with clean soft-soled footwear to ensure maximum grip and to reduce damage to roofing sheets.
5. Create a Purlin Framework
Purlins can be used to create a supporting framework and to transfer the loads imposed by the metal sheeting onto the primary building structure. Purlins can be fixed to rafters using cleats that can be bolted. All purlin joints or laps should be supported by a rafter.
6. Fix Sheets
The fixings used to attach sheets to purlins must be durable and able to withstand considerable wind pressures & heavy rainfall. Make sure fixings are not excessively tightened as this can burn off the soft neoprene pad under the washer.
7. Ridge Caps
Lay ridge caps from the opposite end of the roof to the direction of prevailing winds. Each cap should be overlapped by the next cap in the run to help ensure a robust weather resistant joint.
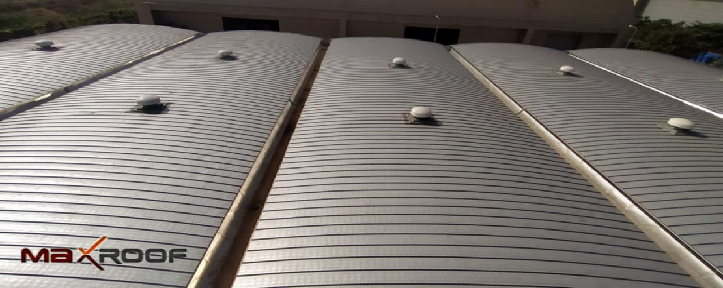
8. Protrusions
Protrusions such as pipes and ducts should be adequately flashed where they pass through the sheeting surface. Where ribs have to be cut away to permit penetration, additional framing should be installed as required, to support the sheeting.
These were a few tips to help you install your roofing sheets. The roofing sheet suppliers usually send a guide along with the sheets to help the installers get a clearer idea of how the sheets are to be handled.